Pastel Vanilla Cupcakes with Whipped Buttercream Frosting
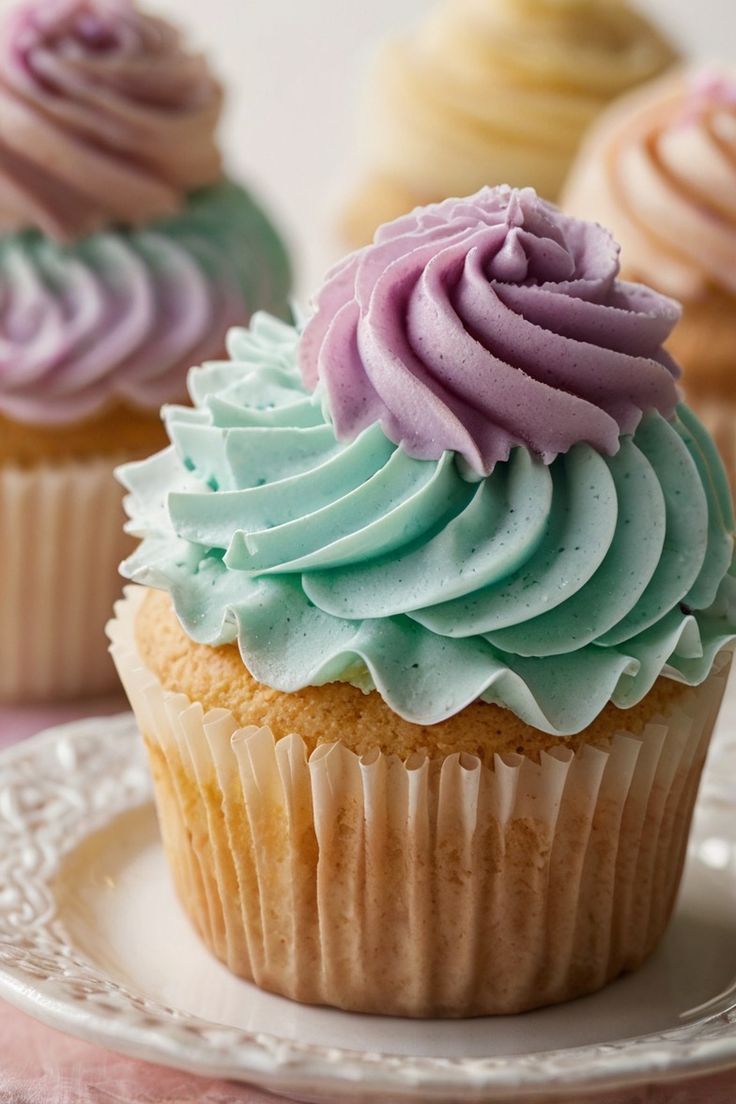
Are you looking for a cupcake recipe that’s as delightful to look at as it is to eat? Imagine biting into a cupcake that is incredibly light, fluffy, and moist, topped with a dreamy, cloud-like whipped buttercream frosting. These Pastel Vanilla Cupcakes are exactly that—a perfect blend of classic flavor and whimsical charm. They are the ideal treat for any occasion, from a pastel-themed birthday party and elegant baby shower to a simple afternoon pick-me-up.
This isn’t just another vanilla cupcake recipe. I’ve spent countless hours in my kitchen perfecting it to ensure every bite is a moment of pure bliss. Forget dry, dense, and bland cupcakes. This recipe guarantees a tender crumb and a flavor that will make you feel like you’re eating a sweet, fluffy cloud. Plus, the homemade whipped buttercream is so much better than anything you’ll find in a can—it’s light, airy, and melts in your mouth without any greasy aftertaste.
Why This Recipe Is a Game-Changer
Creating a truly great cupcake is a science, and every ingredient in this recipe plays a crucial role. This isn’t about guesswork; it’s about balance and technique.
- The Power of Cake Flour: Unlike all-purpose flour, cake flour has a lower protein content. This prevents the gluten from over-developing, resulting in a more tender and delicate crumb. It’s the secret behind that melt-in-your-mouth texture.
- The Buttermilk Magic: Using full-fat buttermilk adds incredible moisture and a subtle tang that balances the sweetness. The acidity in the buttermilk reacts with the baking soda, creating air pockets that make the cupcakes rise beautifully and become extra tender.
- The Whipped Buttercream Technique: The real secret to the frosting is using cold butter. While most recipes call for softened butter, the cold butter method allows the mixer to whip more air into the frosting. The result is a buttercream that’s incredibly light and airy, not dense or heavy like traditional buttercreams. It’s so good, you might just eat it with a spoon!
Ingredients You’ll Need
Having your ingredients ready and at the right temperature is half the battle. This ensures a smooth mixing process and a perfect final product.
For the Fluffy Vanilla Cupcakes
- 1 ½ cups (180g) cake flour, sifted
- 1 cup (200g) granulated sugar
- 1 ½ teaspoons baking powder
- ½ teaspoon baking soda
- ½ teaspoon salt
- ½ cup (113g) unsalted butter, softened to room temperature
- 2 large eggs, at room temperature
- 1 teaspoon pure vanilla extract
- ½ cup (120ml) full-fat buttermilk, at room temperature
- ¼ cup (60ml) whole milk, at room temperature
For the Dreamy Whipped Buttercream Frosting
- 1 cup (226g) unsalted butter, cold and cut into small cubes
- 4 cups (480g) powdered sugar, sifted
- 1 teaspoon pure vanilla extract
- 2-4 tablespoons heavy cream or milk
- A pinch of salt
- Food coloring gels (blue, pink, purple, yellow, etc.)
Step-by-Step Instructions
Follow these simple steps for cupcake perfection.
Step 1: The Cupcake Batter
- Preheat & Prepare: Preheat your oven to 350°F (175°C). Line a 12-cup muffin tin with cupcake liners. This step seems basic, but it’s crucial for a clean bake.
- Whisk the Dry Ingredients: In a medium bowl, whisk together the sifted cake flour, granulated sugar, baking powder, baking soda, and salt. Sifting the flour is key to preventing lumps and ensuring an airy texture.
- Cream Butter & Sugar: In a large bowl using an electric mixer, beat the softened butter until creamy, about 1-2 minutes. Gradually add the sugar and beat on medium-high speed for 3-4 minutes, until the mixture is light and fluffy. This “creaming” process is vital for incorporating air into the batter.
- Add Wet Ingredients: Add the eggs one at a time, mixing well after each addition. Scrape down the sides of the bowl as needed to ensure everything is well combined. Beat in the vanilla extract.
- Alternate Wet & Dry: With the mixer on low speed, add half of the dry ingredients to the butter mixture and mix until just combined. Add the buttermilk and whole milk and mix until combined. Add the remaining dry ingredients and mix on low speed until the batter is smooth, being careful not to overmix. Overmixing can lead to tough cupcakes.
- Fill & Bake: Divide the batter evenly among the cupcake liners, filling each about two-thirds full. Bake for 18-22 minutes, or until a toothpick inserted into the center comes out clean.
- Cool Completely: Let the cupcakes cool in the pan for 5 minutes before transferring them to a wire rack. Crucially, let them cool completely before frosting. A warm cupcake will melt your beautiful buttercream.
Step 2: The Whipped Buttercream Frosting
- Beat the Cold Butter: In the bowl of a stand mixer fitted with the paddle attachment, beat the cold, cubed butter on low speed until it just begins to break up. This is where the magic starts.
- Add Powdered Sugar: Gradually add the sifted powdered sugar, one cup at a time, mixing on low speed until combined. Once all the sugar is in, increase the speed to medium-high and beat for 5-7 minutes. The frosting will transform into a fluffy, voluminous cloud.
- Finish with Flavor: Add the vanilla extract and salt. Mix until combined.
- Add Liquids: With the mixer running on low speed, slowly drizzle in 2 tablespoons of heavy cream or milk. Increase the speed to medium and beat for 1-2 minutes until you have a light, spreadable consistency. Add more cream if needed, one teaspoon at a time, to reach your desired consistency.
Step 3: Decorate Your Cupcakes
- Divide & Color: Divide the whipped buttercream into separate bowls. Add a drop of food coloring gel to each bowl and mix until you achieve the desired pastel shade.
- Fill Piping Bag: Fit a piping bag with your favorite tip (a large round tip or star tip works well). Use a spatula to load the frosting into the bag.
- Frost: Pipe a generous, beautiful swirl of frosting on top of each cooled cupcake.
- Garnish: Top your pastel vanilla cupcakes with sprinkles, edible glitter, or fresh fruit for a final flourish.
Tips and Troubleshooting
- Don’t Rush the Cooling Process: It’s tempting to frost warm cupcakes, but this is the number one cause of melted, messy frosting. Be patient!
- My Frosting Is Too Thin/Thick! If your frosting is too thin, add more powdered sugar, a tablespoon at a time. If it’s too thick, add more cream, one teaspoon at a time, until you reach the right consistency.
- Why is my cupcake dry? Overmixing is the most common culprit. Mix until the ingredients are just combined. Also, make sure your oven temperature is accurate and don’t overbake them.
Frequently Asked Questions (FAQ)
Q: Can I use all-purpose flour instead of cake flour?
A: Yes, you can, but the texture won’t be as light and tender. If you must, a substitute is to remove 2 tablespoons of all-purpose flour from each cup and replace it with 2 tablespoons of cornstarch.
Q: Can I make these cupcakes ahead of time?
A: Absolutely! You can bake the cupcakes one day in advance. Store them in an airtight container at room temperature. You can also make the frosting a day ahead and store it in the refrigerator. Just let it come to room temperature and give it a quick whip before frosting.
Q: How do I get perfect pastel colors?
A: Use gel food coloring instead of liquid. Gel coloring is more concentrated, so you only need a tiny drop to achieve a vibrant color without affecting the frosting’s consistency.
With this recipe, you’ll be a vanilla cupcake master in no time. Enjoy the process of baking and creating these beautiful, delicious treats!