Crispy Buffalo Chicken Wings: How to Get Restaurant-Quality Crunch at Home
There is a universal truth in the world of appetizers: not all chicken wings are created equal. We have all experienced the disappointment of a “soggy” wing—a sad, rubbery piece of poultry drenched in sauce that loses its appeal after the first bite.
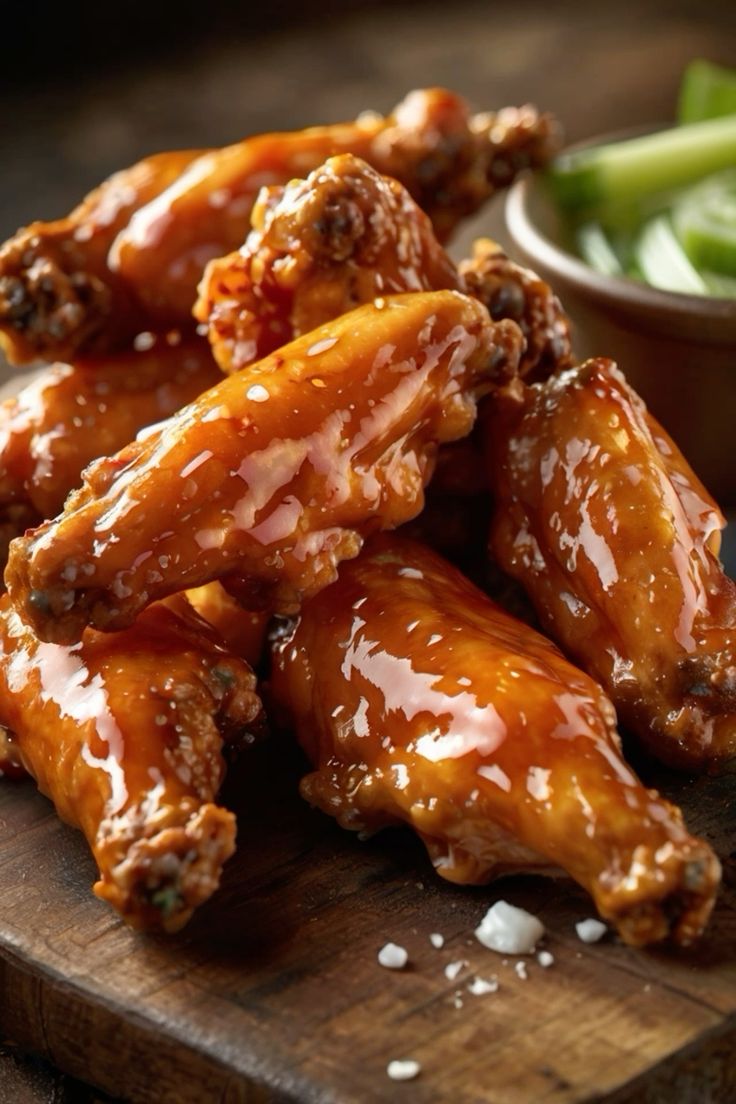
But a truly great Crispy Buffalo Chicken Wing? That is a culinary masterpiece. It should have a skin so thin and shatteringly crisp that it crackles when you bite into it, paired with a spicy, buttery sauce that clings to every crevice without making the wing soggy.
Whether you are gearing up for Game Day, hosting a backyard BBQ, or just satisfying a Friday night craving, this guide will teach you the science of the crunch and the secret to the perfect Buffalo glaze.
The Secret Science: How to Get Crispy Wings Without Deep Frying
Most people assume you need a commercial deep fryer to get that “shatter-crisp” skin. However, you can achieve the same (or better) results in a standard oven or air fryer by using a simple scientific hack: Baking Powder.
Why Baking Powder?
When you coat chicken wings in a small amount of aluminum-free baking powder and salt, it raises the pH level of the skin. This allows the proteins to break down more efficiently, resulting in a skin that browns faster and becomes significantly more “bubbly” and crisp.
Important Note: Do not confuse baking powder with baking soda. Using baking soda will result in a metallic, unpleasant taste. Stick to Baking Powder.
Ingredients You’ll Need
The Wings
- 2 lbs (1kg) Chicken Wings: Split into flats and drumettes.
- 1 tbsp Aluminum-Free Baking Powder: The secret weapon for crispiness.
- 1/2 tsp Sea Salt: To draw out moisture.
- 1/2 tsp Garlic Powder: For a base layer of savory flavor.
The Classic Buffalo Sauce
- 1/2 cup Frank’s RedHot Original: Or your favorite cayenne-based hot sauce.
- 1/4 cup Unsalted Butter: This mellows the heat and gives the sauce its signature “velvet” texture.
- 1 tbsp White Vinegar: For an extra hit of tang.
- 1/4 tsp Worcestershire Sauce: For umami depth.
- A pinch of Cayenne Pepper: (Optional) If you want to kick the heat up to “Extra Hot.”
Step-by-Step Instructions
1. The Prep (The “Dry” Phase)
The enemy of crispiness is moisture.
- Remove your wings from the packaging and pat them completely dry with paper towels.
- In a large bowl, toss the dry wings with the baking powder, salt, and garlic powder until every wing is lightly and evenly coated.
2. The “Air-Dry” Secret (Optional but Recommended)
If you have time, place the coated wings on a wire rack set over a baking sheet and leave them in the fridge, uncovered, for 1 to 4 hours. This dehydrates the skin, ensuring an even more dramatic crunch once they hit the heat.
3. The Bake
- Preheat your oven to 425°F (220°C).
- Place the wings on a wire rack over a baking sheet (the rack allows hot air to circulate under the wings, preventing a soggy bottom).
- Bake for 45–50 minutes, flipping halfway through. You are looking for a deep golden-brown color and a skin that looks slightly blistered.
4. The Buffalo Glaze
While the wings are finishing, make your sauce:
- In a small saucepan over low heat, melt the butter.
- Whisk in the hot sauce, vinegar, and Worcestershire sauce.
- Simmer for 2 minutes—do not let it boil vigorously, or the sauce may “break” (separate).
5. The Toss
Place the hot, crispy wings into a large metal bowl. Pour the warm Buffalo sauce over them and toss vigorously. The sound of the wings hitting the bowl should be a “clink”—that’s how you know they are truly crispy.
Oven vs. Air Fryer: Which is Better?
| Method | Time | Result |
| Oven | 45-50 mins | Great for large batches; very consistent crispiness. |
| Air Fryer | 20-25 mins | Faster and slightly crispier, but limited by basket space. |
Air Fryer Tip: If using an air fryer, set it to 400°F (200°C). Shake the basket every 5 minutes to ensure the wings don’t stick together.
Pro-Tips for the Ultimate Wing Experience
- The Wire Rack is Non-Negotiable: If you bake wings directly on a tray or foil, they will sit in their own rendered fat and become “fried-soggy” rather than “crispy-baked.”
- Don’t Sauce Too Early: Only toss the wings in the sauce right before serving. Even the crispiest wing will eventually soften if it sits in liquid for too long.
- The Cooling Garnish: Always serve with cold celery sticks and a side of Blue Cheese Dressing (traditional) or Ranch (the fan favorite). The cold, creamy dip provides a necessary contrast to the hot, vinegary sauce.
Frequently Asked Questions
Can I use frozen wings?
Yes, but you must thaw them completely and pat them extremely dry. Frozen wings hold a lot of internal water, which can lead to steaming if not handled correctly.
How do I make them “Honey Buffalo”?
Simply add 1–2 tablespoons of honey to the sauce recipe above. It adds a beautiful sticky glaze and balances the heat perfectly.
Are these gluten-free?
Since we are using baking powder instead of flour, this recipe is naturally gluten-free! Just double-check that your hot sauce and baking powder brands are certified GF.
Final Thoughts
Making the perfect Buffalo wing is a rite of passage for any home cook. It’s a dish that relies on technique rather than expensive ingredients. By mastering the baking powder method and the wire-rack bake, you can produce wings that are healthier than deep-fried versions but just as satisfyingly crunchy.
So, grab your napkins (you’ll need them), whip up a batch of blue cheese dip, and get ready to serve the best wings your friends have ever tasted.