The Ultimate Romantic Heart-Shaped Red Velvet Cake: A Recipe for Love
Nothing says “I love you” quite like a homemade dessert, and the Heart-Shaped Red Velvet Cake is the undisputed queen of romantic baking. With its striking crimson crumb, subtle hint of cocoa, and luxurious tang of cream cheese frosting, this cake is as visually stunning as it is delicious.
Whether you are celebrating Valentine’s Day, an anniversary, or a “just because” date night, this guide will show you how to create a bakery-quality red velvet cake from scratch. Best of all? You don’t even need a heart-shaped pan to make this happen—we’ll share a brilliant kitchen hack to get that perfect shape every time.
What Makes Red Velvet So Irresistible?
Many people mistake red velvet for simply “chocolate cake with red dye,” but true red velvet is in a league of its own. The magic lies in the chemical reaction between natural cocoa powder, vinegar, and buttermilk. This combination creates a “velvety” texture (hence the name) and a unique flavor profile that is slightly acidic, buttery, and sweet.
Ingredients You’ll Need
To ensure your cake is moist and vibrant, use room-temperature ingredients. This helps the batter emulsify perfectly.
For the Red Velvet Sponge:
- 2 ½ cups All-Purpose Flour: Sifted for a light crumb.
- 1 ½ cups Granulated Sugar.
- 1 tsp Baking Soda & 1 tsp Salt.
- 1 tsp Unsweetened Cocoa Powder: Just enough for flavor without turning it brown.
- 1 cup Buttermilk: The secret to the “tang.”
- 1 ½ cups Vegetable Oil: Provides superior moisture compared to butter.
- 2 Large Eggs.
- 1 tsp White Distilled Vinegar: Reacts with the soda for lift.
- 1 tsp Vanilla Extract.
- 2 tbsp Red Food Coloring: Use gel coloring for the most intense hue.
For the Iconic Cream Cheese Frosting:
- 16 oz (2 blocks) Cream Cheese: Softened at room temperature.
- ½ cup (1 stick) Unsalted Butter: Softened.
- 4 cups Powdered Sugar: Sifted to avoid lumps.
- 1 tsp Vanilla Extract.
- A pinch of Salt: To cut through the sweetness.
Step-by-Step Baking Instructions
1. Mix Your Dry and Wet Ingredients
Preheat your oven to 350°F (175°C). In a medium bowl, whisk together your flour, sugar, baking soda, cocoa powder, and salt.
In a separate large bowl, beat the eggs, oil, buttermilk, food coloring, vanilla, and vinegar together. Slowly incorporate the dry ingredients into the wet ones. Whisk until the batter is smooth, but do not overmix, as this can make the cake tough.
2. The Shape Hack (No Heart Pan Required!)
If you don’t own a heart-shaped pan, don’t worry! You can achieve the shape using:
- One 8-inch Square Pan.
- One 8-inch Round Pan.
Divide your batter evenly between these two pans and bake for 30–35 minutes. Once cooled, cut the round cake in half to create two semi-circles. Place the square cake on a board like a diamond, then attach the two semi-circles to the top two sides of the square using a bit of frosting as “glue.” Voilà! A perfect heart.
3. Cool Completely
This is the most critical step. Red velvet cake is quite soft. Trying to frost a warm cake will result in the cream cheese frosting melting into a gooey mess. Let the cakes cool in the pans for 10 minutes, then transfer to a wire rack until they reach room temperature.
4. Whip the Frosting
In a large bowl, cream the softened cream cheese and butter together until pale and fluffy (about 3 minutes). Gradually add the powdered sugar, one cup at a time, followed by the vanilla and salt. The result should be thick, pipeable, and velvety smooth.
5. Assemble and Decorate
If you used the “square and round” method, trim the tops of the cakes with a serrated knife so they are perfectly level. Apply a thin crumb coat of frosting first—this traps any red crumbs—and refrigerate for 20 minutes.
Finally, apply the remaining frosting. You can leave it smooth for a modern look or use a piping bag to create rosettes around the edges.
Pro Tips for the Best Red Velvet Cake
- Gel vs. Liquid Coloring: Always opt for Gel Food Coloring. It provides a much deeper red without adding extra liquid, which can throw off the chemistry of the batter.
- Don’t Skip the Vinegar: It might seem odd in a cake, but the vinegar is what reacts with the baking soda to give the cake its signature light and fluffy rise.
- Real Buttermilk is Key: If you don’t have buttermilk, you can make a substitute by adding 1 tablespoon of lemon juice to 1 cup of whole milk, but real buttermilk provides the best texture.
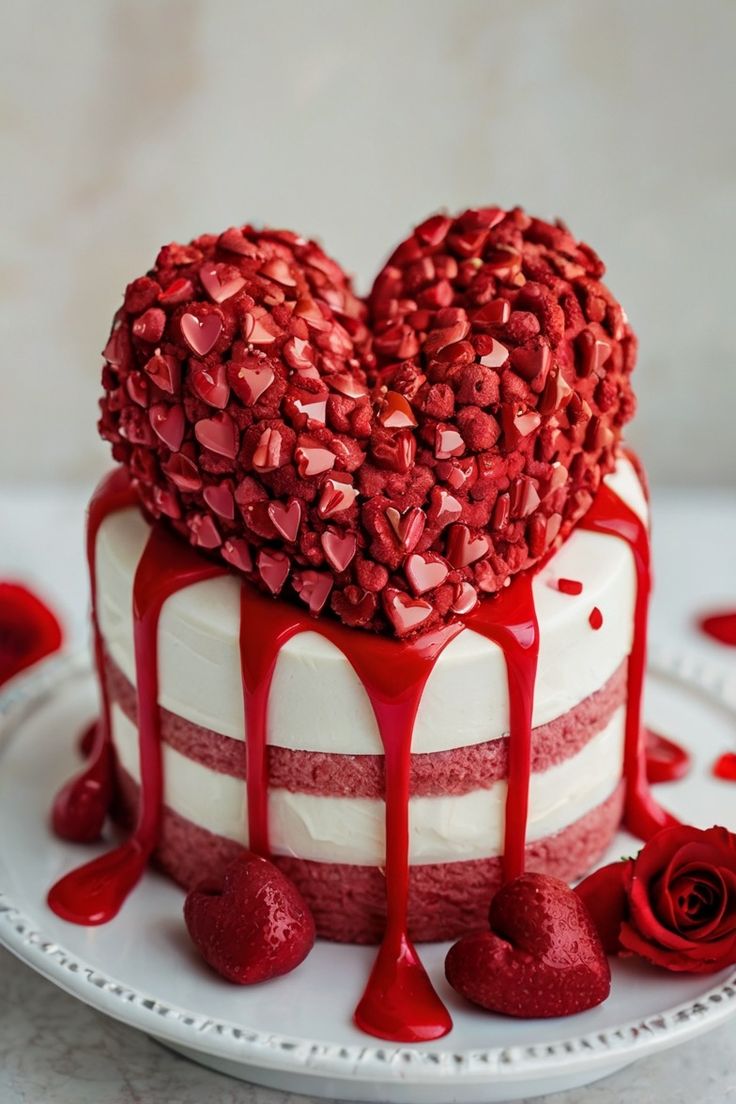
Decoration Ideas for Romance
To take your heart-shaped cake to the next level, consider these romantic finishing touches:
- Fresh Raspberries or Strawberries: Arrange them in a smaller heart shape in the center of the cake.
- Edible Gold Leaf: For a touch of luxury and elegance.
- Cake Crumbs: Save the trimmings from when you leveled the cake, crumble them into fine “dust,” and sprinkle them over the top for a beautiful contrast against the white frosting.
- Chocolate Shavings: Dark chocolate curls look stunning against the red and white palette.
Frequently Asked Questions (FAQs)
Can I make this cake in advance?
Yes! Red velvet cake actually tastes better the next day. You can bake the sponges a day early, wrap them tightly in plastic wrap, and store them at room temperature. Frost the cake the day you plan to serve it.
Why did my cake turn brown instead of red?
This usually happens if you use too much cocoa powder or a type of cocoa that isn’t “Natural.” Natural cocoa is acidic; “Dutch-processed” cocoa is neutral and won’t react the same way with the vinegar and coloring.
Does the cake need to be refrigerated?
Because of the cream cheese frosting, this cake should be kept in the fridge. However, for the best flavor and texture, take it out about 30 minutes before serving so the frosting and sponge can soften slightly.
Conclusion
A Heart-Shaped Red Velvet Cake is more than just a dessert; it is a labor of love that shows someone how much you care. Its striking colors and decadent flavors make it a showstopper on any table. Follow these steps, use the “shape hack,” and you’ll have a professional-looking masterpiece that tastes even better than it looks.