No-Bake Creamy Matcha Cheesecake with Fresh Berries
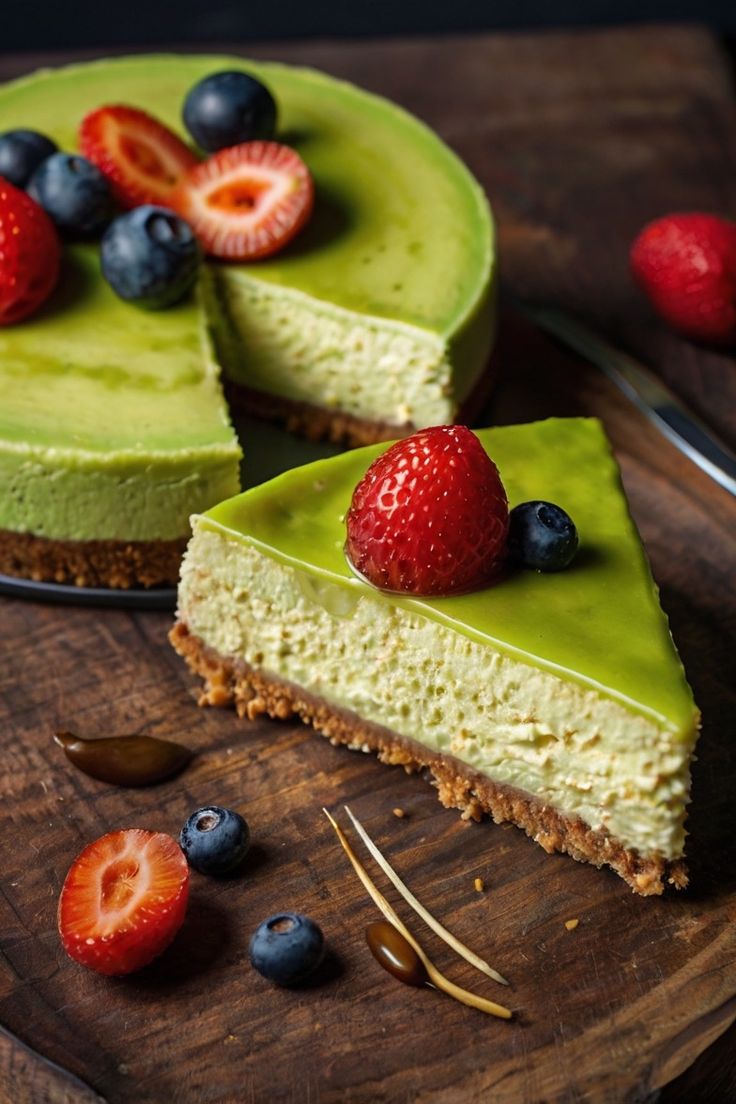
This No-Bake Creamy Matcha Cheesecake is a true delight—a perfect balance of flavors and textures. It features a rich, subtly earthy matcha-infused filling that is velvety smooth and surprisingly light, all set upon a simple, crunchy crust. Topped with a vibrant array of fresh berries, this dessert is as visually stunning as it is delicious. It’s an ideal treat for a hot summer day or any occasion where you want to impress without turning on the oven.
Why This Recipe Is a Must-Try
- Effortless Elegance: This recipe proves that you don’t need a hot oven to create a show-stopping dessert. The no-bake method is simple and foolproof.
- Unique Flavor Profile: The distinct, slightly bitter notes of matcha beautifully complement the sweet and tangy cream cheese filling, creating a sophisticated and refreshing flavor that is unlike any other cheesecake.
- Perfect Pairings: The sweet, juicy fresh berries not only add a burst of color but also provide a wonderful contrast to the creamy matcha, creating a harmonious and balanced bite.
Ingredients
For the Crust
- 1 ½ cups (180g) graham cracker crumbs (about 10-12 full sheets)
- ¼ cup (50g) granulated sugar
- 6 tablespoons (85g) unsalted butter, melted
For the Matcha Cheesecake Filling
- 16 ounces (450g) full-fat cream cheese, softened to room temperature
- 1 cup (120g) powdered sugar, sifted
- 2 teaspoons vanilla extract
- 2 teaspoons high-quality culinary-grade matcha powder, sifted
- 1 ½ cups (360ml) heavy whipping cream, very cold
For the Topping
- 1-2 cups of fresh berries (strawberries, blueberries, raspberries, and blackberries work well)
- A few fresh mint leaves (optional, for garnish)
Instructions
Step 1: Prepare the Crust
- Crush the Crackers: Place the graham cracker sheets in a food processor and pulse until fine crumbs form. Alternatively, you can place them in a resealable plastic bag and crush them with a rolling pin.
- Combine Ingredients: In a medium bowl, stir together the graham cracker crumbs and granulated sugar. Pour in the melted butter and mix with a fork until the crumbs are evenly coated and resemble wet sand.
- Press into Pan: Pour the mixture into a 9-inch springform pan. Use the bottom of a measuring cup or your fingers to press the crust firmly and evenly into the bottom of the pan.
- Chill: Place the pan in the refrigerator to chill while you prepare the filling. This will help the crust set and firm up.
Step 2: Make the Matcha Cheesecake Filling
- Whip the Cream: In a large bowl, use an electric mixer to beat the very cold heavy whipping cream on high speed until it forms stiff peaks. Be careful not to over-whip, as it can turn grainy. Set the whipped cream aside.
- Prepare the Matcha: In a small bowl, combine the sifted matcha powder with 1-2 tablespoons of hot water (not boiling). Whisk with a small whisk or a spoon until a smooth, lump-free paste forms. This step is crucial for preventing clumps in the filling.
- Beat Cream Cheese: In a separate large bowl, beat the softened cream cheese with the mixer until it is completely smooth and creamy, with no lumps. This is key to a silky-smooth filling.
- Combine & Flavor: Add the sifted powdered sugar and vanilla extract to the cream cheese. Beat on low speed until just combined, then increase the speed to medium and beat until the mixture is light and fluffy.
- Add Matcha: Add the prepared matcha paste to the cream cheese mixture and beat until the color is uniform and the matcha is fully incorporated.
- Fold It In: Using a rubber spatula, gently fold the whipped cream into the cream cheese-matcha mixture in two or three batches. Be careful not to overmix, as this will deflate the whipped cream and make the filling dense. Stop folding when there are no more streaks and the filling is uniform.
Step 3: Assemble and Chill
- Pour the Filling: Pour the cheesecake filling over the chilled crust in the springform pan. Use a spatula to smooth the top and ensure the filling is evenly distributed.
- Chill to Set: Cover the pan loosely with plastic wrap and refrigerate for at least 6 hours, or preferably overnight. A fully chilled cheesecake is a firm, delicious cheesecake.
Step 4: Garnish and Serve
- Remove from Pan: Once the cheesecake is set, carefully unlatch and remove the springform pan ring. Use a thin knife to loosen the sides if needed.
- Add Toppings: Arrange the fresh berries decoratively on top of the cheesecake.
- Serve: Slice the cheesecake with a clean knife, wiping the knife between each cut for perfect slices. Serve immediately and enjoy!
Tips for a Perfect Cheesecake
- Room Temperature is Key: Make sure your cream cheese is completely at room temperature. This is the secret to a lump-free, smooth filling.
- Use High-Quality Matcha: The flavor of your cheesecake is directly related to the quality of your matcha. Use a culinary-grade matcha powder for the best flavor and color.
- Patience is a Virtue: The chill time is non-negotiable. Rushing it will result in a soft, unset cheesecake. Plan ahead and give it ample time in the refrigerator.
- For a Cleaner Slice: For perfectly clean slices, dip your knife in hot water and wipe it dry between each cut.