The Ultimate Creamy Pumpkin Cheesecake with Spiced Whipped Cream Recipe
Welcome the cozy flavors of fall into your kitchen with this stunning Creamy Pumpkin Cheesecake with Spiced Whipped Cream. This isn’t just any dessert; it’s a centerpiece, a crowd-pleaser, and a testament to the comforting magic of pumpkin season. Our recipe is meticulously crafted to be your go-to guide, ensuring a perfectly smooth, crack-free cheesecake every time. We’ll walk you through each step, from the buttery graham cracker crust to the rich, velvety pumpkin filling, and finally, the ethereal spiced whipped cream topping. Whether you’re a seasoned baker or a novice, you’ll find everything you need to create a dessert that will have everyone asking for the recipe.
Why This Pumpkin Cheesecake is a Must-Make
- Luxuriously Creamy Texture: This recipe uses a combination of cream cheese and sour cream to create an unbelievably smooth and rich filling that melts in your mouth.
- Perfectly Spiced: The blend of cinnamon, ginger, nutmeg, and cloves provides a warm, aromatic flavor profile that perfectly complements the pumpkin. It’s the taste of autumn in every bite.
- Crack-Free Guarantee: We’ll demystify the water bath technique, a simple but crucial step that ensures your cheesecake bakes evenly and prevents those dreaded cracks.
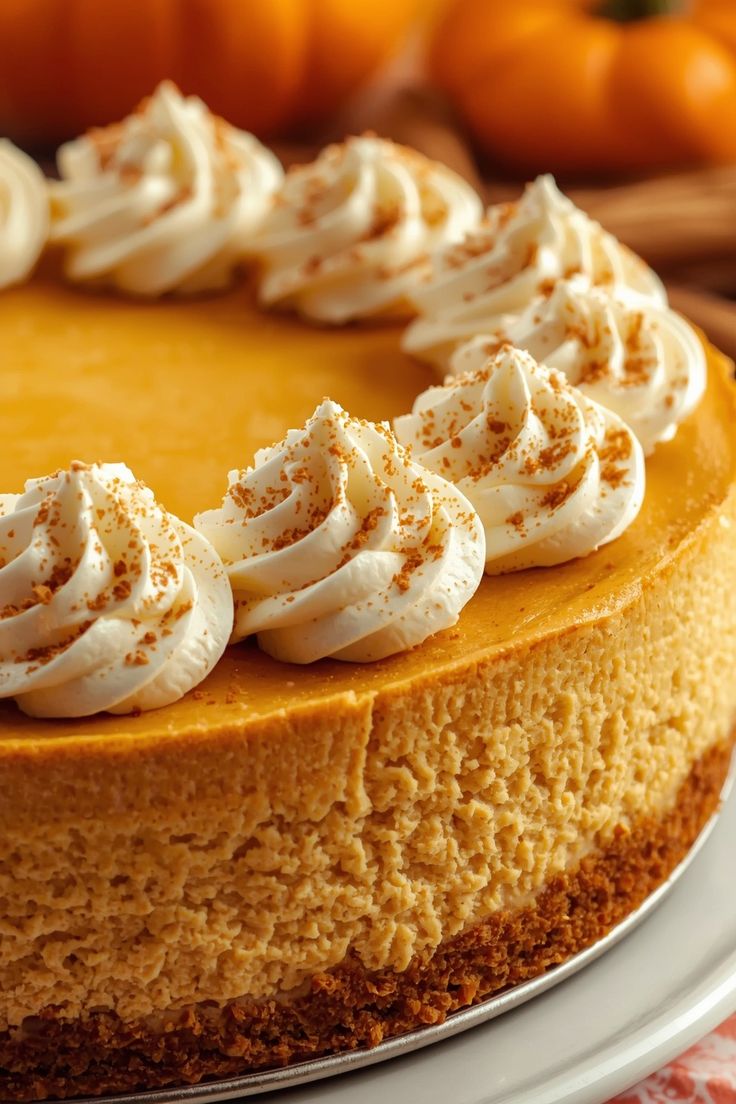
- A-Game Presentation: The spiced whipped cream topping isn’t just an afterthought; it adds a light, airy contrast to the dense cheesecake and elevates the dessert’s visual appeal.
- SEO-Friendly Keywords: We’ve optimized this recipe for search engines, so you can easily find it when you’re looking for the best pumpkin cheesecake recipe, creamy cheesecake, fall dessert ideas, or how to bake a cheesecake.
Part 1: The Foundation – A Buttery Graham Cracker Crust
A great cheesecake starts with a great crust. This simple graham cracker crust is buttery, sturdy, and provides the perfect textural contrast to the smooth filling.
Ingredients for the Crust:
- Graham Cracker Crumbs: 1 ½ cups (about 12 full sheets of graham crackers)
- Granulated Sugar: ¼ cup
- Unsalted Butter: 6 tablespoons, melted
Instructions for the Crust:
- Prep Your Pan: Preheat your oven to 325°F (165°C). Grease a 9-inch springform pan. For easy removal and to prevent leaks, you can wrap the outside of the pan in a double layer of heavy-duty aluminum foil. This is especially important if you’re using a water bath.
- Make the Crumbs: If you’re not using pre-made crumbs, place the graham crackers in a food processor and pulse until they form fine crumbs. Alternatively, you can place them in a zip-top bag and crush them with a rolling pin.
- Combine Ingredients: In a medium bowl, stir together the graham cracker crumbs and the granulated sugar. Pour in the melted butter and stir with a fork until all the crumbs are evenly moistened and look like wet sand.
- Press into Pan: Pour the mixture into the prepared springform pan. Use the bottom of a measuring cup or a flat-bottomed glass to firmly and evenly press the crumbs into the bottom and slightly up the sides of the pan. The more compact you make it, the better the crust will hold together.
- Pre-Bake the Crust: Place the pan in the preheated oven and bake for 10-12 minutes, or until the crust is fragrant and lightly browned. This step is crucial for a firm crust that won’t get soggy.
- Cool Down: Remove the pan from the oven and set it on a wire rack to cool completely while you prepare the filling.
Part 2: The Heart of the Dessert – A Silky Pumpkin Filling
This filling is a harmonious blend of tangy cream cheese, rich pumpkin, and warm spices. The secret to its velvety texture is using room-temperature ingredients and not over-mixing.
Ingredients for the Filling:
- Cream Cheese: 3 (8-ounce) packages, full-fat, softened to room temperature
- Canned Pumpkin Puree: 1 (15-ounce) can, not pumpkin pie filling
- Granulated Sugar: 1 cup
- Light Brown Sugar: ½ cup, packed
- Sour Cream: ½ cup, full-fat, at room temperature
- Large Eggs: 3, plus 1 egg yolk, at room temperature
- Cornstarch: 1 tablespoon
- Vanilla Extract: 1 ½ teaspoons
- Ground Cinnamon: 1 ½ teaspoons
- Ground Ginger: 1 teaspoon
- Ground Nutmeg: ½ teaspoon
- Ground Cloves: ¼ teaspoon
- Salt: ¼ teaspoon
Instructions for the Filling:
- Prepare for the Water Bath: This is the key to a crack-free cheesecake. Place a large roasting pan on the bottom rack of your oven. Boil water in a kettle or pot and have it ready.
- Combine Dry Ingredients: In a small bowl, whisk together the granulated sugar, brown sugar, cornstarch, cinnamon, ginger, nutmeg, cloves, and salt. Setting the spices aside helps ensure they are evenly distributed.
- Beat the Cream Cheese: In the bowl of a stand mixer fitted with the paddle attachment, or using a large bowl with a hand mixer, beat the softened cream cheese on medium-low speed until it is completely smooth and no lumps remain. This should take about 2-3 minutes. Scrape down the sides of the bowl frequently. Lumps at this stage will remain in the final product.
- Add Sugars and Spices: Gradually add the sugar and spice mixture to the cream cheese, beating on low speed until just combined.
- Incorporate the Wet Ingredients: Add the pumpkin puree, sour cream, and vanilla extract. Beat on low speed until the mixture is smooth and fully incorporated. Again, scrape down the sides and bottom of the bowl.
- Add Eggs (One at a Time): This is the most crucial step. Crack one egg into the mixture and beat on the lowest speed until it is just combined. Scrape the bowl. Repeat with the remaining two eggs and the final egg yolk, adding them one at a time and mixing until just combined. Do not overmix! Overmixing incorporates too much air, which can cause the cheesecake to rise too quickly and then crack as it cools.
- Pour and Smooth: Pour the pumpkin filling over the cooled graham cracker crust in the springform pan. Gently tap the pan on the counter a few times to release any large air bubbles. Use a rubber spatula to smooth the top.
- The Water Bath: Carefully place the springform pan into the large roasting pan in the oven. Slowly and carefully pour the boiling water into the roasting pan until it comes about one inch up the sides of the springform pan.
- Bake to Perfection: Bake at 325°F (165°C) for 60-75 minutes. The cheesecake is done when the edges are set and lightly puffed, but the center still has a slight wobble when you gently shake the pan. The internal temperature should be between 150-155°F (65-68°C). A food thermometer is the best way to be sure.
- Cooling is Key: Turn off the oven, but leave the cheesecake inside with the door propped open a few inches. Let it cool slowly in the water bath for one hour. This slow, gradual cooling prevents a drastic temperature change that can cause cracks.
- Final Cooling: After an hour, carefully remove the pan from the water bath and the foil from the outside. Place the cheesecake on a wire rack to cool completely to room temperature. This will take another 2-3 hours.
- The Final Chill: Once at room temperature, cover the pan with plastic wrap and transfer the cheesecake to the refrigerator to chill for at least 6 hours, or preferably overnight. The cold chill solidifies the texture and deepens the flavors.
Part 3: The Finishing Touch – Spiced Whipped Cream
This light and fluffy whipped cream is the perfect counterpoint to the rich, dense cheesecake. The hint of cinnamon and nutmeg ties all the flavors together beautifully.
Ingredients for Spiced Whipped Cream:
- Heavy Whipping Cream: 1 ½ cups, chilled
- Powdered Sugar: 3 tablespoons
- Vanilla Extract: 1 teaspoon
- Ground Cinnamon: ¼ teaspoon
- Ground Nutmeg: A pinch (or to taste)
Instructions for Spiced Whipped Cream:
- Chill Your Tools: For the best results, place the bowl of your stand mixer or a medium mixing bowl, along with the whisk attachment, in the freezer for about 10-15 minutes. A cold bowl and whisk help the cream whip up faster and hold its shape better.
- Combine Ingredients: Pour the chilled heavy whipping cream into the cold bowl. Add the powdered sugar, vanilla extract, cinnamon, and nutmeg.
- Whip to Stiff Peaks: Using the whisk attachment, start mixing on low speed, then gradually increase to medium-high. Whip until soft peaks form, then continue whipping until the cream holds stiff peaks. Be careful not to over-whip, or you’ll get butter. Stiff peaks mean the whipped cream holds its shape firmly and doesn’t droop.
- Decorate: Once the cheesecake is fully chilled, you can either spread the spiced whipped cream evenly over the top or pipe it on using a piping bag with a decorative tip. A dusting of extra cinnamon or a sprinkle of toasted pecans would be a beautiful finishing touch.
Serving and Storage
- Serving: To get clean slices, run a long, sharp knife under hot water, wipe it dry, and slice. Repeat this process for each slice.
- Storage: Store the finished pumpkin cheesecake in an airtight container in the refrigerator for up to 5 days. You can also freeze individual slices for up to 2 months.
Enjoy this exquisite Creamy Pumpkin Cheesecake with Spiced Whipped Cream. It’s a dessert that encapsulates the warmth and comfort of the fall season, and it’s sure to become a beloved tradition in your home. Happy baking!